Understanding Assets

Greetings,

I am reading up on assets but don’t really understand how they work.

I uploaded an image expecting to find that image somewhere in the code base, but didn’t.

Can someone please spell out for me exactly what happens when an image is uploaded?

Yes, this is tricky to understand :wink:

First see the docu: Preside Documentation :: Working with the asset manager

So, what’s going on in the background?

If you upload a file the file itself is stored in the physical folder /upload/assets/{folderID}/

Here you can find the original image.

In addition a record is inserted in the table psys_asset with all the data of the file (filename, extension, dimensions, folderID, etc.).

The ID of the file never changes. Which makes the building of the link very simple.

To get the raw Link of the file (Preside Documentation :: Working with the asset manager) you just do:

event.buildLink(assetId = idOfAsset)

you can use this for images or links: <img src="#event.buildLink(assetId = idOfAsset)#">

if you need a different size of the image (e.g. thumbnails) you can use a derivative (Preside Documentation :: Working with the asset manager). You define this in your config.cfc and do some transformation.

To get a link to the derivative your can do: event.buildLink(assetId = idOfAsset, derivative="thumb").

In the background Preside checks if the derivative of the asset already exists. If not it tries 3 times to generate the image with the given derivative dimensions.

The generated derivative will be physically stored here: /upload/assets/{folderID}/{derivativeName}_{assetID}/

This means, that all derivatives are generated at runtime (or queue if you define it) and are stored in a given file structure. What you need to care about is only the assetID. That’s it.

The generated URL to the asset it parsed in preside and if there are restrictions the image is only shown if logged in, etc.

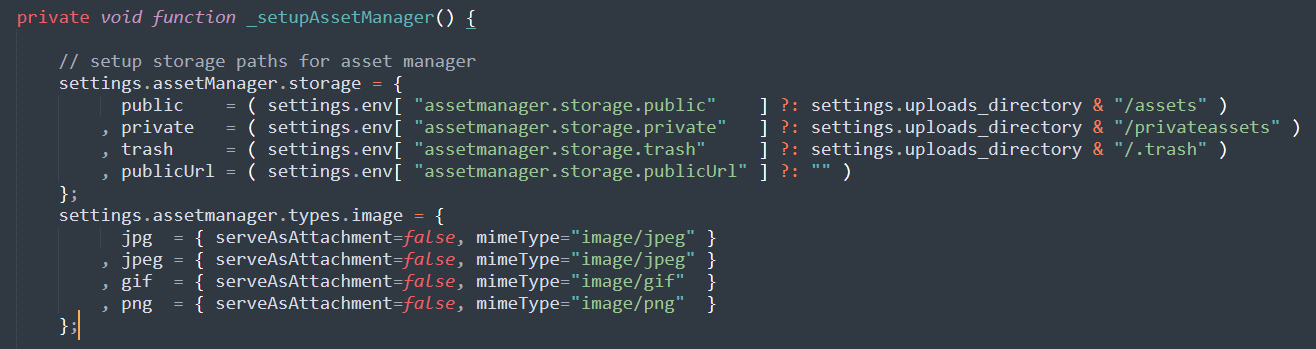
There are a lot of additional settings and options, like versions of assets, storage locations, etc.

I hope this helps for the moment.

1 Like

Perfect. That helps a lot but it seems a little unintuitive ( although I like having different size images created when uploading the main image ).

Would I be ‘breaking the rules’ if I simply did something like below and then called my images normally?
image

Also, I have assetManager configured as such:

Yet when I attempt to upload a jpg file I get this ( border mine ):

For css assets, you absolutely would have them under /assets and refer to them normally in your css.

The asset manager is used for editorial images that CMS users would upload into content.

There are two things that can cause this. I think you don’t need the types.image setting in your config, this is predefined already. And the second thing: You can restrict what kind of files can be uploaded in a folder. You can make a PDF folder and just let upload pdf files there, e.g.

but there is one thing i must emphasize: The way Preside is handling Assets and Versions is one of the best I’ve ever seen in a CMS. You can do Whatever you want with your assets (focal point, new versions, renaming files, etc.) and you need to care about nothing. Preside is doing all the stuff.

Imagine renaming a file name in WP or Joomla. You’re so screwed!

Here is where I discovered the management of allowable asset types:

So easy once I found it!

There’s room for optimization in the docu, agree. There are some more features with assets and folders.

system folders. You can define folders created by the system (and not deletable) wher you can upload files from your code to, e.g. (they are assigned by a name, not an ID). This is really helpful.

Two additional hints: Use webp whereever you can! This is the future for images and Google Lighthouse loves it. And install libvips (https://www.libvips.org/). Preside automatically recognise if it’s installed and use it for image stuff. This increases the image quality dramatically!